Ms. Ruin's Playthings


"The imagination imitates. It is the critical spirit that creates." -Oscar Wilde

Showing posts with label fancy frames. Show all posts

Tuesday, December 11, 2012

Verday Night

Oh oh!  She's painting!
 
 
I have been wishy washy about what I was going to get some people for Christmas.  Of course I would prefer that my gifts be handmade and although that's not the case for the majority of my presents, I did manage to start on a few handpainted projects.  So what have I been painting?  Picture frames!  Well, at least that's what I've decided to make out of them.  
 

I started out with ornate 5x7 frames made of wood.  I bought these at Michaels at 2 for $7.99.  Using a combination of the Verday Reactive Paints and Patina I was able to turn plain ol' wood frames into this...

 
Keep in mind that the paint is still drying and oxidizing so the color will continue to change over the next couple of days.  This is simply just an hour after applying the patina.  I may even go back and add some more paint and patina.  Why not?  :)

 
This round fram is actually made of resin.  I'm not sure exactly what i will do with this one.  I was thinking of making a center piece about friendship or maybe even adding a mirror to it?  I'm not crazy about the black but I hope that will soon turn orange as it oxidizes or I'm gonna have to repaint it in brass.  TBD! 

 
Here is a sneak peek of what the frame will look like when it's done.  Isn't it gorgeous????  This frame is also still oxidizing.  So I used a wooden ornate frame and a plain boxed picture frame.  I will use glue to adhere the wood frame to the picture frame and I will slide a photo from my gallery into it as well.  It doesn't get anymore Ms. Ruin than that!  I can't wait to give these to my special friends.  ::BIG SMILE::
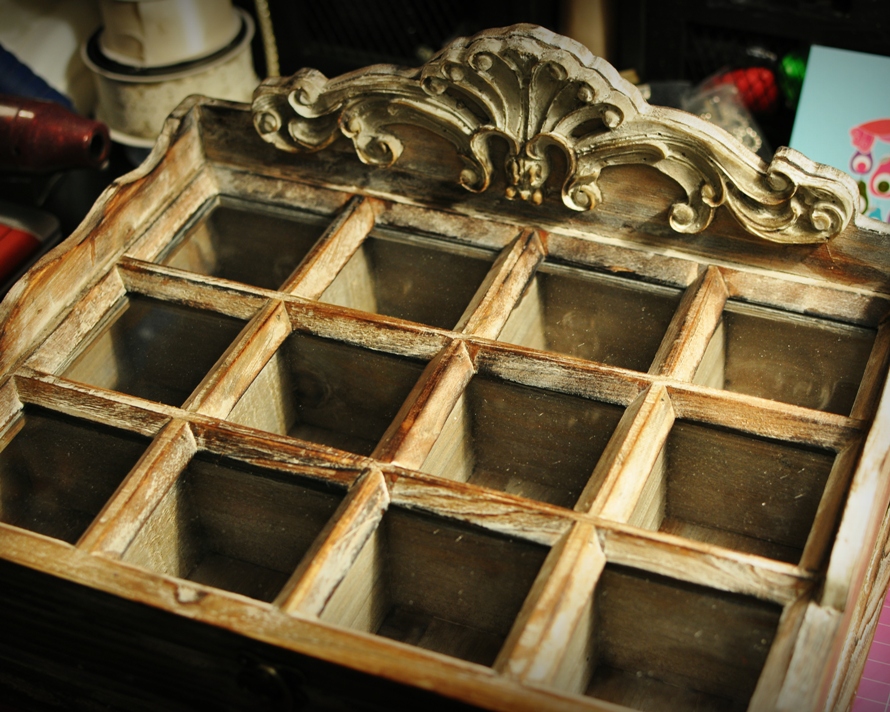
 
As for the box above...this is not something that I made.  I bought this for myself at Hobby Lobby.  Isn't it just lovely?  I love all of the little cubbies!  This would also look fantastic in reactive paints but I really like the way it looks now.  I thought I wanted it for my craft room but I think this is going to look lovely in my bedroom in my house --when we move the entire master bedroom will be rustic and shades of white.  I want everyday to feel like a wedding day! 

 
I just love the way it opens up...it screams "put pretty things inside of me, put pretty things inside of me!"  LOL.  Sometimes the littlest things make me so happy.
 
Peace, love, and wood (bwahaha)!
 

Sunday, June 19, 2011

Artist Trading Cards

We currently have two swaps going on at ARTSY FARTSY.  Remember, anyone can join - just need to have a facebook account.  One of the swaps is for recipe cards and is being facilitated by Genie Smith.  The other is an Artist Trading Card (ATC) swap that is being facilitated by yours truly.  We are each making a total of 3 cards which means we have three themes. 

The themes are:
  1. Childhood Memories
  2. A Favorite Song
  3. Surprise Theme (you pick a theme)

So far I have completed Childhood Memories and A Favorite Song.  Details below.  For those of you that are not familiar with ATCs – they are “a tiny original piece of art created with the intention of swapping or trading it with another artist, not selling it. The one rule an artist trading card must adhere to is the size. An ATC should be 2.5 x 3.5 inches. ATCs can be made in any medium and using any technique, whether it's painting, drawing, or collage. You are really limited only by your imagination and materials."

This is what a card looks like when you purchase it – and heck, you don’t have to purchase these, you can simply use cardstock.  I buy the ones with the punches on the side so that I can put them on my Artist Trading Card carousel by 7gypsies.

Now…on with the magic.

ATC No. 1 of 3:  Childhood Memories


Who didn’t watch The Wizard of Oz as a kid?  Every time it comes on television I am mesmerized by the magic of oz.  It reminds me of the unique beauty in the Land of Oz and the journey of Dorothy and company along the yellow brick road.  I was able to capture the enchantment of Oz in this ATC with the help of Graphic 45 and their new line “The Magic of Oz”.  Scroll past the pictures to read steps/products.


Steps and Products for ATC No. 1:
  • Using a VersaMark Watermark Stamp Pad I juiced up the gorgeous vintage frame stamp by Glitz Design.  The stamp is from the “Fancy Frames” clear stamp collection.
  • Stamped image onto a large tag.
  • Covered with black embossing powder.
  • Embossed with heat gun.
  • “Generously” distressed with “Stormy Sky” distress ink by Tim Holtz.  When I say generously I mean I distressed the entire image – the embossing will serve as a “resist”, trust me, you don’t have to worry about getting ink on the embossed portion of the tag.
  • Cut image out with scissors.
  • Distressed a cream colored ATC with black archival ink (they also sell black ATCs).
  • Adhered frame to ATC with scrappy glue.
  • Using a glue gun, I adhered two layers of off-white colored lace to the center of the frame.
  • Adhered Dorothy image from “The Magic of Oz” paper by Graphic 45 to the lace (I did use hot glue on this as well)
  • “The Magic of Oz” title came from the cover of the paper pack (crafters don’t waste –hahaha!).  I cut it out and distressed the edges with a distressing tool and then inked it with "Vintage Photo" distress ink by Tim Holtz.
  • I don’t care for stickles but I did use red stickles on the hair bow and shoes because it’s the Wizard of Oz and hello – YOU NEED BLING!

ATC No. 2 of 3:  A Favorite Song


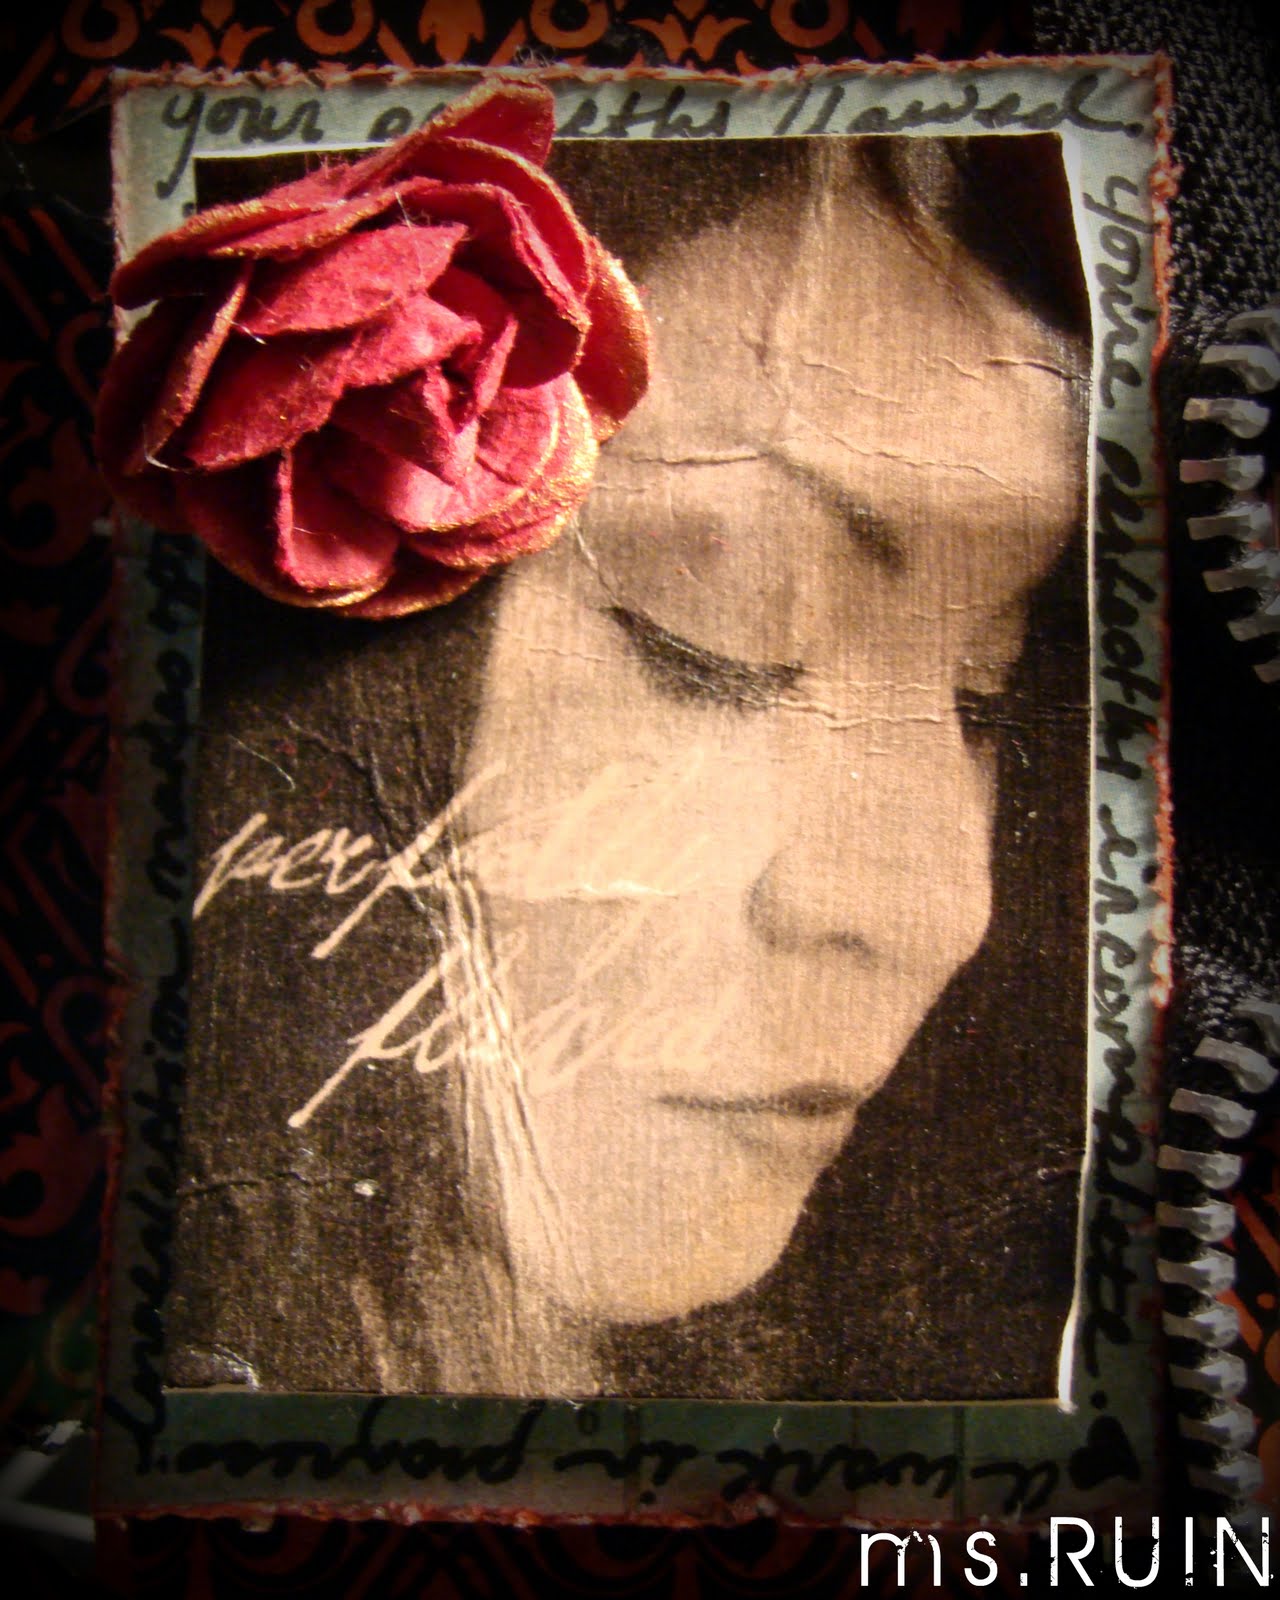
I am a music fanatic and listen to all sorts of music.  Some you would like, some would terrify you.  HAHAHA.  One of my favorite songs is “Perfectly Flawed” by OTEP.  This ATC is about empowering yourself when faced with adversity.  Scroll past pictures below to read steps/products.


Steps and Products:
  • Distressed ATC with “Fired Brick” distress ink by Tim Holtz.
  • Applied “Mod Podge” to the entire card and then placed an ATC transparency by 7gypsies over it.  Let it dry.
  • Applied “Zipper Trim” by Maya Road to the edge
  • Printed a picture of myself that I graphically distressed and added the words “Perfectly Flawed” to it.
  • Took a scrap piece of patterned paper and used it as a border for the picture.  Around the frame I hand wrote the following lyrics from the song:  “You’re perfectly flawed.  You’re perfectly incomplete.  A work in progress.  Imperfection makes you unique.”
  • Adhered the mat with the writing to the ATC using pop dots (I love dimension!)
  • Adhered picture of self to mat also using pop dots (more dimension – yay!!)
  • Using hot glue I adhered a red rose by Prima to the picture.

ATC No. 3 of 3 is yet to come…stay tuned.  And don’t forget to join us at Artsy Fartsy!